Cheap meal prep ideas, without made-up prices
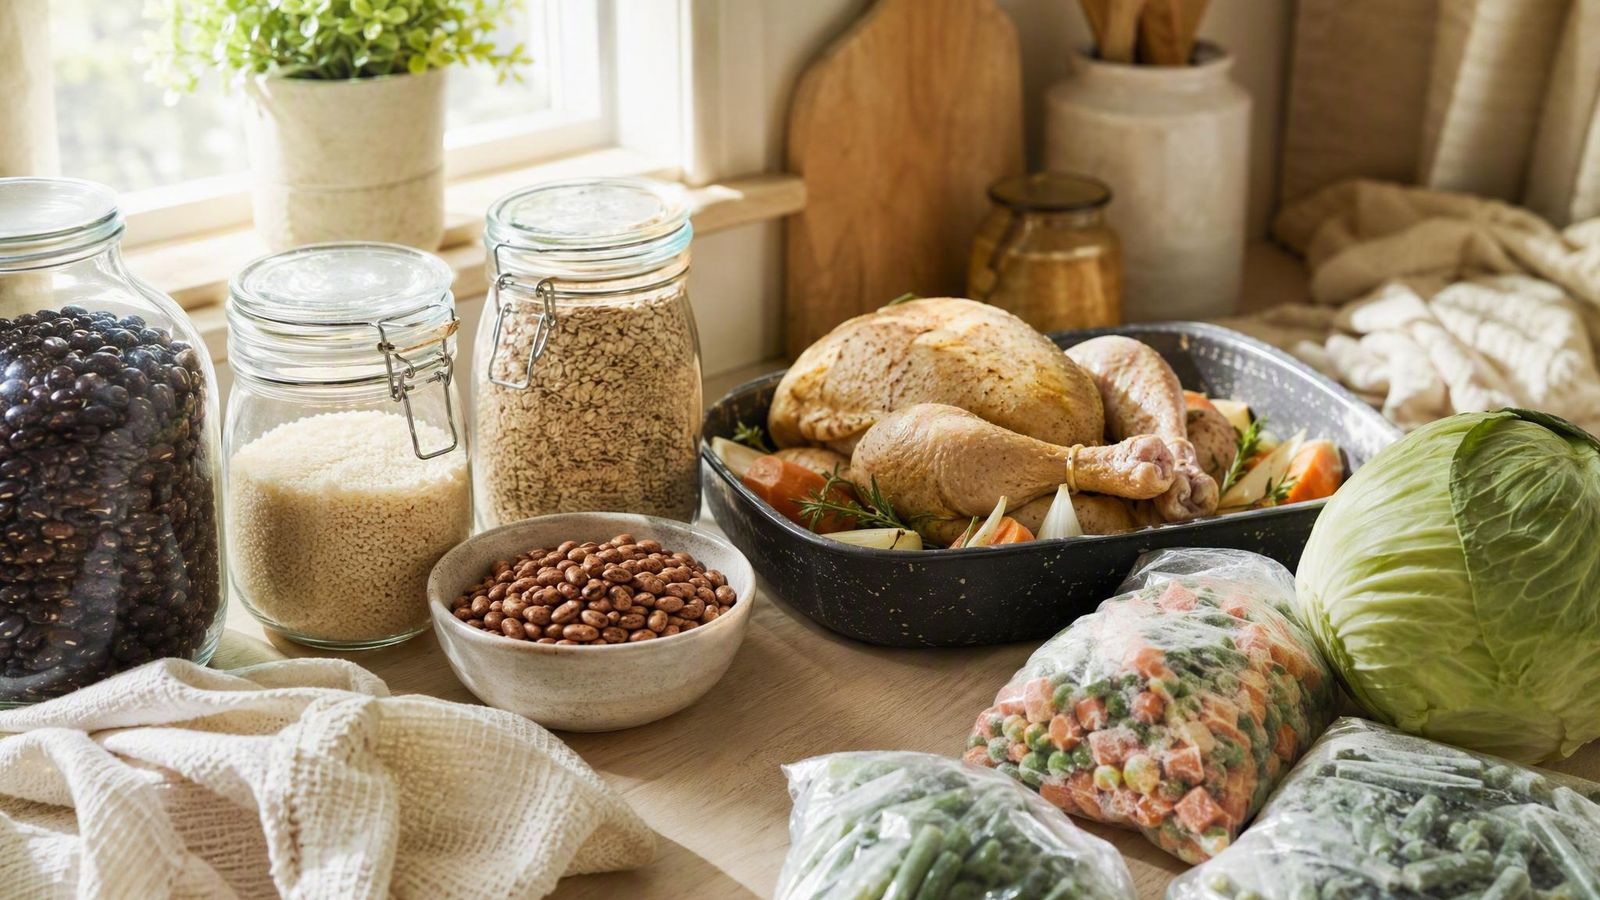
You will not find dollar figures on this page, and that is deliberate. Grocery prices move by store, region, and week, so a price someone typed months ago is fiction by the time you read it. What actually saves money is a method: compute your own cost per serving from your own receipt, build batches around the staple categories that stay cheap everywhere, and stop losing prepped food to spoilage. All three are below.
The cost-per-serving method
Cost per serving is the only budget number that matters, and you can compute it in a minute with a receipt. Here is the worksheet.
- Keep the receipt from one prep-day shop.
- Circle only the items that actually went into the batch. Pantry items you already owned count as zero for this batch; you paid for them last time.
- Cook, then portion the batch into containers and count the real servings, not the optimistic recipe yield.
- Divide the circled receipt total by the number of servings. That is your true cost per serving, dated today, from your store.
- Write the result on the meal plan. When prices move, recompute; a per-serving figure without a date is a guess.
Our policy follows the same logic: we publish computed per-serving prices only after we record real store prices with dates behind them. We have not recorded that price data yet, so this page teaches the worksheet instead, and the worksheet lets you compute your own numbers today. The habit compounds: after a few batches you will know your cheapest reliable meals by name, from your own data, not from a blogger's grocery run in another state. More on how we handle claims is in our editorial policy.
The staple categories that stay cheap
Prices differ everywhere, but the same categories sit at the bottom of the per-serving ladder in nearly every US grocery store, for structural reasons: little processing, little water weight, long shelf life, or the whole animal instead of parts.
| Staple | Why it stays cheap | How it travels |
|---|---|---|
| Dried beans and lentils | Sold dry, so you are not paying for water or a can; one bag cooks into many meals | Cooked beans anchor grain bowls, chilis, and wraps; they ride the cold chain or a thermos equally well |
| Rice | Minimal processing and enormous supply keep it among the cheapest calories on the shelf | Base for bowls and burritos; freeze cooked portions flat and reheat with a splash of water |
| Oats | A bulk grain with almost no processing between field and bag | Overnight oats in a jar are a packable breakfast that needs no morning effort |
| Eggs | Among the least expensive complete proteins per serving in most stores | Hard-boiled eggs travel in the shell inside a cold-chain bag; frittata slices pack for room-temperature lunches |
| Cabbage | Dense, heavy heads with a long fridge life mean little spoilage waste | Slaws hold dressing without wilting, which lettuce cannot claim; ideal wrap filler |
| Frozen vegetables | Picked and frozen in season, and nothing rots in your crisper drawer | Steam straight from frozen into batch dinners; not for eating raw |
| Whole chicken | The whole bird costs less per usable portion than buying parts separately | Roast once: sliced meat for lunches, and the carcass becomes stock for next week's soup |
The batch strategy
Cheap ingredients only become cheap meals if the batch survives the week. The strategy has three moves. One pot, many meals: cook one big base (beans, a whole chicken, a pot of rice) and split it across different flavor directions so you do not face the same bowl all week. Overlap ingredients: plan the week so every perishable gets used in at least two meals; the expensive ingredient is the one you throw away. Freeze the back half: refrigerate the servings you will eat soon and freeze the rest on day one, so nothing races the refrigerator clock. Our freezer meals guide covers which dishes come back from the freezer worth eating.
Leftover safety for a week of prep
Spoiled food is the hidden budget leak, so the federal storage rules are budget rules too.
Those two rules shape the prep day: portion into shallow containers right after cooking, refrigerate only what the window covers, and freeze everything beyond it. If your prepped lunches also need to survive a commute, the cold lunch guide covers the packing side.
Budget prep-day checklist
Budget prep-day checklist
- Plan around one base pot plus one roast, not five separate recipes
- Shop the list, keep the receipt for the worksheet
- Portion into shallow containers straight after cooking
- Count real servings and compute your cost per serving while the receipt is in hand
- Refrigerate the near-term servings, freeze the rest with a date label
- Note which meals you actually finished this week; repeat winners, drop losers
That is the whole system: your receipt, your servings, your number. The meal prep hub has the rest of the make-ahead playbook, and the food safety hub holds every storage rule we cite.
Sources
- USDA FSIS: Leftovers and Food Safety · www.fsis.usda.gov (accessed 2026-08-31)
- USDA FSIS: Danger Zone (40°F - 140°F) · www.fsis.usda.gov (accessed 2026-08-31)