Thermos lunches: hot food at noon, no microwave needed
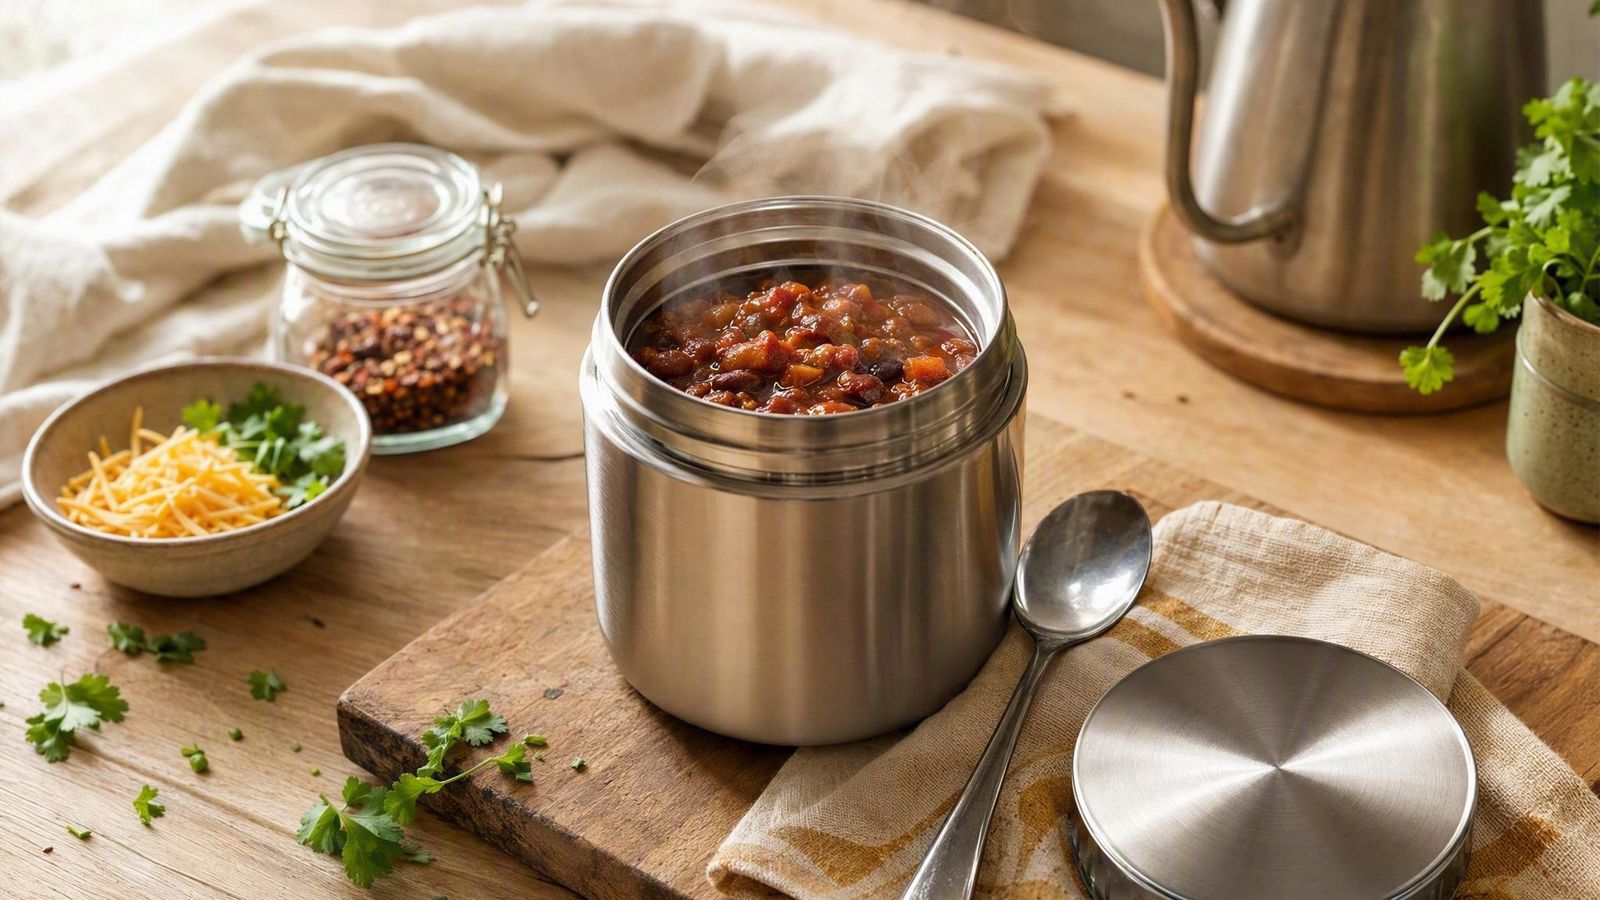
A vacuum-insulated food jar gets you hot chili, soup, stew, or pasta at noon with no office microwave involved, but only if you do one thing right: preheat the jar with boiling water before the food goes in. Skip the preheat and the jar spends its insulation warming its own steel walls instead of holding your lunch hot. This hub covers the exact method, what actually survives a morning in a jar, and the USDA rule that makes the whole system safe.
In this hub
The preheat that makes or breaks it
An insulated jar does not make food hot; it only slows down change. Whatever temperature the system starts at is the temperature it defends. That is why the preheat is not an optional nicety, it is the whole trick. The routine takes barely longer than pouring a kettle.
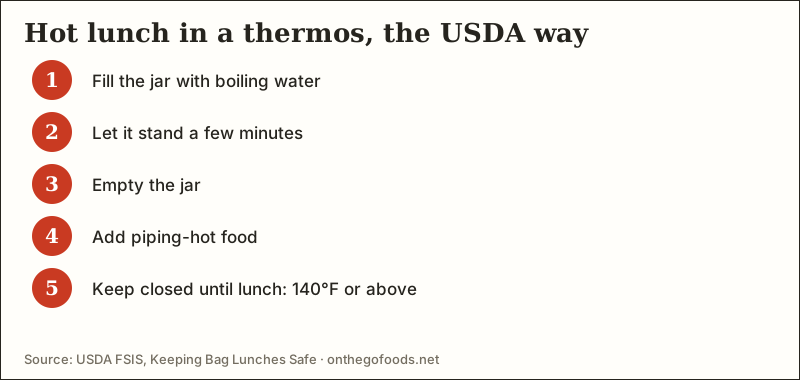
- Put the kettle on first, before anything else in the lunch routine
- Heat the food on the stove until it is fully piping hot, not merely warmed through, and bring soups and stews to a hard simmer
- Fill the empty jar to the brim with boiling water and cap it loosely while the food finishes
- Empty the water, and immediately ladle in the food straight off the heat
- Seal the lid at once and do not open the jar again until lunch; every peek costs heat
Two habits protect the hold. Fill the jar as full as the food allows, because a big air gap cools the contents faster. And carry the jar in the middle of your bag rather than against a cold outer wall or a car window in winter.
What works in a jar, and what fails by noon
A food jar is a sealed, moist, steamy environment for several hours. Food that loves those conditions arrives better than it left. Food that depends on crispness, browning, or a delicate texture arrives as a warm apology.
| Food | Verdict at noon | Why |
|---|---|---|
| Chili and bean stews | Excellent | Thick, dense, and moist; heavy foods hold heat longest and flavors keep melding |
| Brothy soups and curries | Very good | Liquid transfers and holds heat well; keep add-ins like crackers separate until eating |
| Pasta in sauce, saucy noodles, mac and cheese | Good with a caveat | Slightly undercook the pasta at home; it keeps softening in the jar all morning |
| Rice bowls, oatmeal, congee | Good | Grains ride the steam well; pack toppings like nuts or scallions in a separate small container |
| Meatballs or shredded chicken in sauce | Good | Sauce is the heat reservoir; reheat everything fully together before it goes in |
| Anything fried, breaded, or crispy | Fails | Steam dissolves crunch; fried chicken and crispy tofu arrive soggy every time |
| Grilled cheese, quesadillas, crusty sandwiches | Fails | Bread and trapped steam are enemies; carry bread outside the jar and dip instead |
| Delicate greens stirred in at home | Fails | Hours of heat wilt them to nothing; bring greens separately and stir in at lunch |
Making thermos food ahead
The thermos routine pairs perfectly with batch cooking: a pot of soup or chili on Sunday becomes several jar lunches. The refrigerator window for that pot is the boundary of the plan, and every jar day starts with a full reheat on the stove, never with lukewarm food poured into hot steel.
Freeze the back half of the batch in flat, single-lunch portions and the freezer becomes your jar-lunch pantry; the workflow lives in freezer meals. For the rest of the lunch around the jar, the room-temperature sides and the packing logic, see no-microwave lunch ideas and the food safety hub.
The morning routine, timed to the kettle
Thermos morning checklist
- Kettle on first; it defines the pace of everything else
- Food from the fridge into a pot on the stove, brought fully back to piping hot
- Boiling water into the empty jar, lid resting on top while the food finishes
- Water out, food in, straight off the heat, filled as full as the recipe allows
- Lid sealed once, then hands off until lunch
- Toppings, bread, or greens packed separately so texture survives
- Jar rides in the middle of the bag, not against a cold outside wall
Sources
- USDA FSIS: Keeping 'Bag' Lunches Safe · www.fsis.usda.gov (accessed 2026-08-31)
- FoodSafety.gov: Cold Food Storage Chart · www.foodsafety.gov (accessed 2026-08-31)